Procreate is a digital art platform famous for its user-friendly interface, tools, brushes, and lots of other bells and whistles that let artists create stunning illustrations.
However, much like many other multi-functioning apps, it has some hidden qualities.
Is creating pixel art one of them? Read on to find out, and get all the information you need about pixel art.
Can Procreate Make Pixel Art?
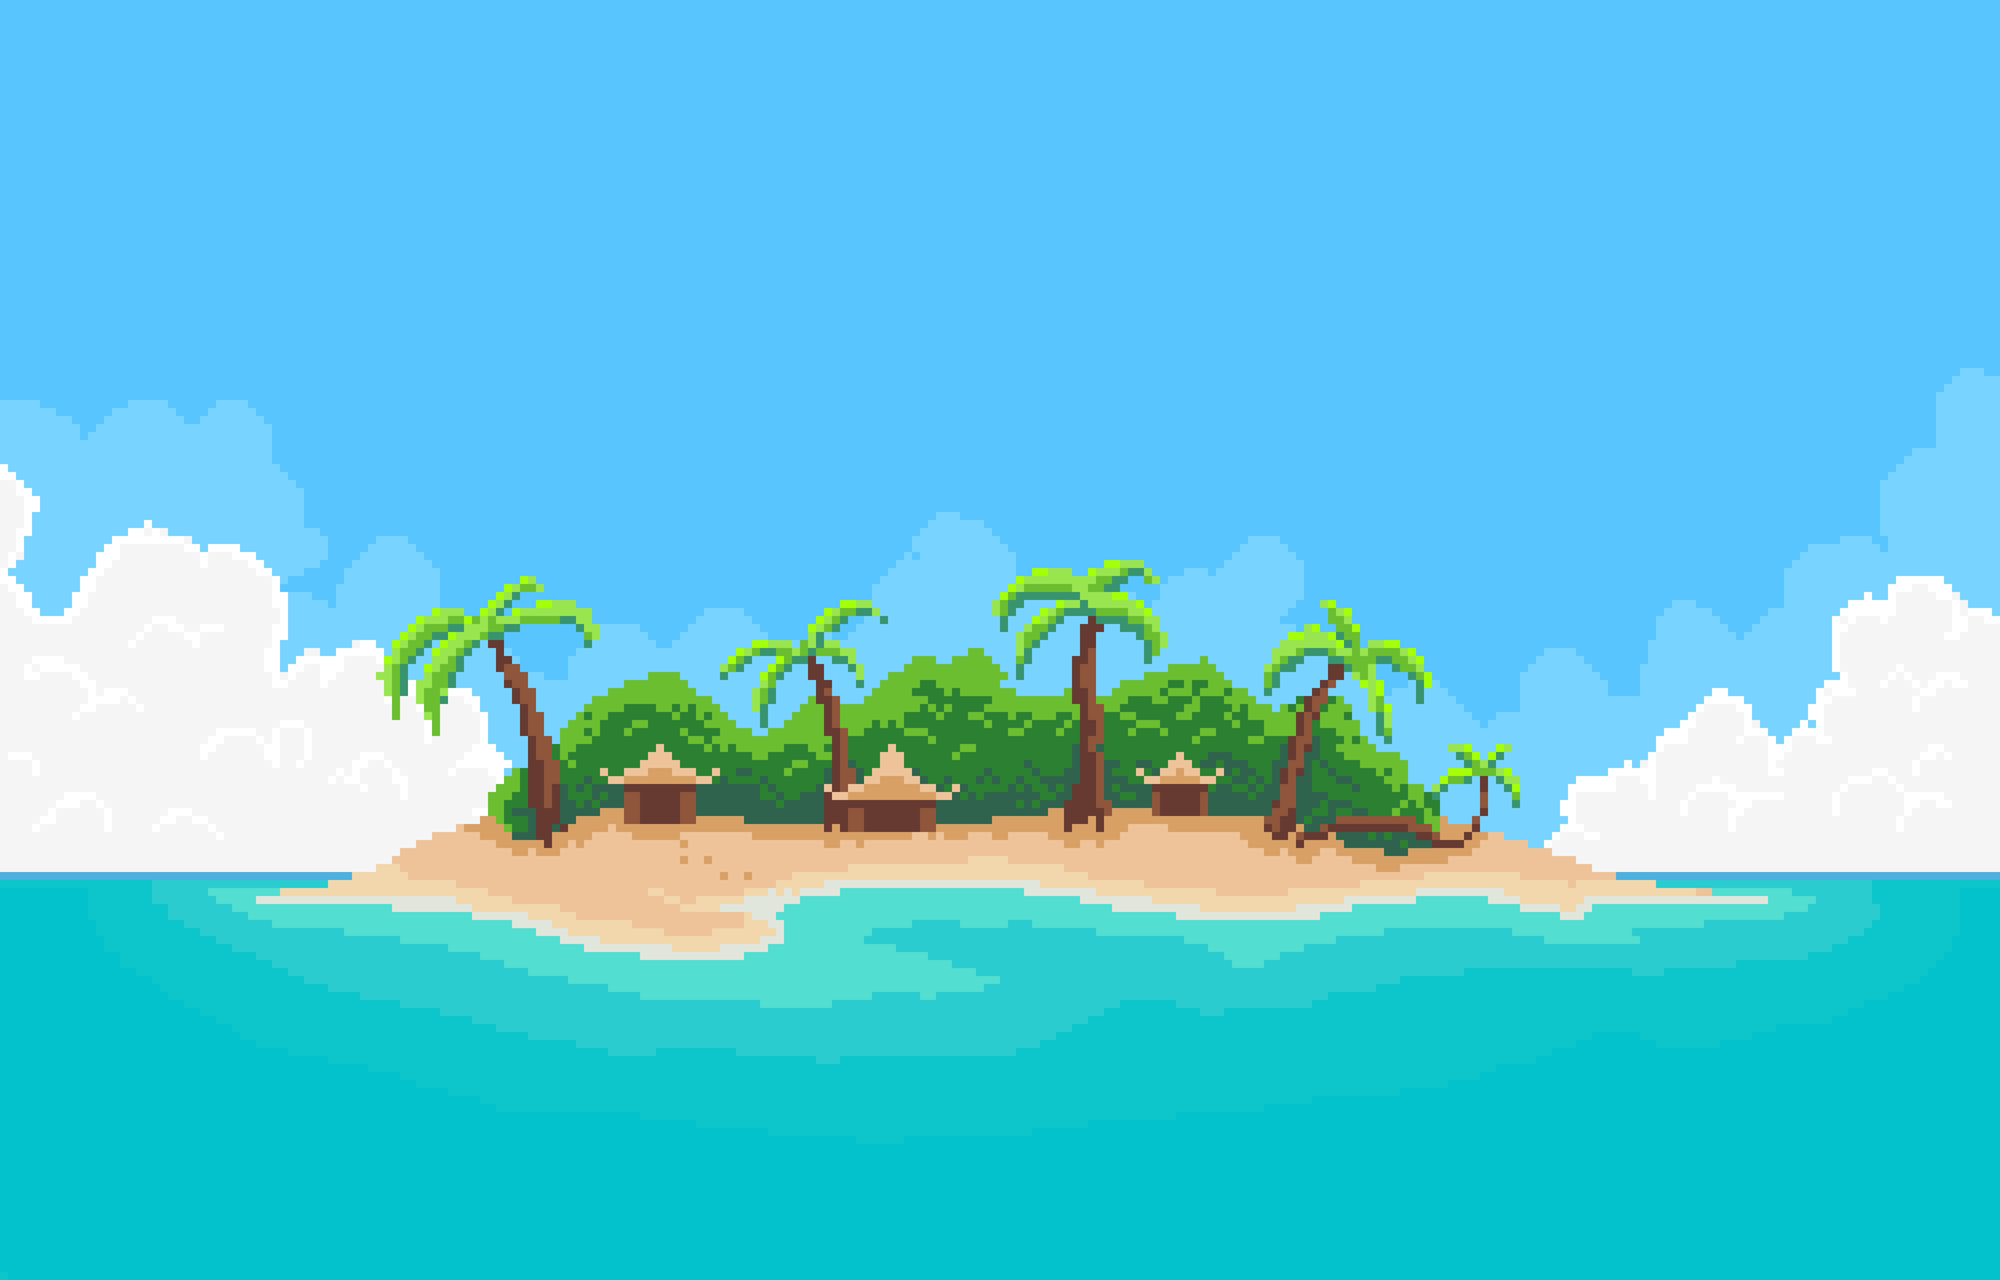
Yes, Procreate can make pixel art if you set up the platform yourself and make the required adjustments. It doesn’t have default settings for creating pixel art right from the start, but it’s not that hard to get it ready.
Considering the user-friendly interface and all the additional tools and customization that Procreate offers, you’ll be glad to have it as a multi-tasker on your device.
Follow the steps below to set it up:
Step-1: Create the Brush
For creating pixel art, you need first to make a brush that only colors one pixel at a time, without creating irregular shapes and filling two or more pixels with one stroke:
1. Open any canvas, tap on Actions and then Crop and Resize.
2. Toggle on the Resample switch, set the size to 1*1 pixel, and Tap Done.
3. Pick a white color and tap the canvas with your pencil. You won’t see anything happening, but the canvas will have a white color.
4. Tap on Layers, select the layer that the canvas is on. It should be named Layer 1. Then copy the layer. You’ll have one pixel of white in your clipboard.
5. Tap on the Brush Library, pick the simplest brush you can find and duplicate it.
6. Tap on the new brush to open the Brush Studio.
7. Go to the Shape section, tap Edit, Import, and Paste. It may seem like nothing has happened, but the stamp of the brush will change to one white pixel. Hit Done.
8. Go to the Grain section and repeat the seventh step.
9. Now, you need to turn off all the settings that may affect the scale. Open the Stroke Path, Taper, Shape, Wet mix, Color Dynamics, Dynamics, and Apple Pencil sections and turn off every option.
10. In the Grain and Rendering section, all the options should read zero except for the Zoom, Depth, and Flow, which should be at the maximum level.
11. In the Properties section, turn everything off, put the Maximum Size, Minimum Size, and Minimum Opacity to 0%. Turn up the Maximum Opacity to 100%.
12. Hit Done, and now you have your one-pixel brush ready to go!
Step-2: Create the Canvas
1. Open Custom Canvas, and tap on the Dimensions section.
2. You should set the Width and Height of the canvas to your optimal size. For example, the Gameboy uses 160*144 pixels for their canvases. After you’ve typed in the numbers, tap Create.
3. Tap on Actions, and toggle on the Drawing Guide switch.
4. Tap on Edit Drawing Guide, and edit the Grid Size to 1px.
5. You can then change the color of the Drawing Guide to black and maybe turn down the Thickness and Opacity so it won’t bother you when drawing.
Note: You can search for pixel art brushes made by other artists for Procreate online, download them, and see if they function to your liking.
Step-3: Draw!
Once you draw with your new brush on the new canvas, it’ll color one pixel if you hit it at the center.
Pick colors, change the opacity of the brush, and make any needed adjustments while you’re drawing.
Read Do You Need An iPad Pro For Procreate?
What Is Procreate Good For?
Procreate is mainly made for drawing and illustrations, but that doesn’t mean it can’t do anything else! It’s a feature-packed application filled with practical tools and qualities to make your artistic session as convenient and fun as possible.
Here are a couple of few features that make Procreate a top-rated digital art platform:
User-friendly Interface: As a beginner artist, once you open the Procreate app, you won’t get overwhelmed by the complicated tools and settings. Procreate keeps the platform very simple and minimal, making anyone feel welcome.
However, that doesn’t mean that you’re going to miss professional features. Once you get to know the app, you’ll find out it can do everything you could ask for.
Procreate is very fast, powered by the Valkyrie engine, providing 64-bit speed. You can tap the undo or redo button as much as 250 times.
Plus, Procreate supports multiple languages, making it easy for people whose primary language isn’t English.
Layering System: You can create multiple layers on top of each other, which is an essential tool for digital art.
This feature makes it easy to pull off complicated and detailed drawings and edit every bit of them in a non-destructive manner.
Consider checking 7 Online Courses for Concept Art
Professional Brushes: Procreate offers various brush types categorized in different sections in the brush library. Each of the brushes will leave you amazed when you stroke them on the canvas.
You can change the settings on each brush easily to alter it to your liking. It’s even possible to create your own brush from scratch in Procreate.
You can download and use brushes that other artists made online. In the latest version, Procreate allows you to use Photoshop brushes, as well.
Coloring Options: Procreate offers Swatch Drop and Color Drop tools with multiple options, including palette, classic, harmony, and disc coloration, making it easy to mix and match colors.
Editing and Design Tools: With the symmetric, perspective, isometric, and 2D guides, you can paint effortlessly.
The blurring tool includes perspective blur, gaussian blur, and motion blur, bringing life to your artwork.
The wrap and liquify tool will let you distort any part of the image. You even have the option to add cool effects to your work, such as noise, glitch, bloom, halftone, and chromatic.
Find out more about Procreate’s abilities to edit photos.
Animation Assistance: Procreate’s animation assistant tool will let you design every animation frame with the automatic onion skinning method.
You can control the duration of each frame and export the final result to your device as high-quality Gifs.
Time-lapse Videos: You won’t have to use a secondary video recording app to create a time-lapse of your work.
Procreate does it for you and lets you save it in 1080, 2K, and 4K resolution with lossless quality. Find out more about Procreate’s video editing qualities.
Is Learning Pixel Art Hard?
If you’re one of those people who like to paint freely and go wherever the brush takes you, pixel art can be challenging for you. However, for people who find an open brief with no restraints scary and like to create their work within defined limitations, pixel art will be effortless.
Pixel art can be more convenient and forgiving while simplifying every piece as much as possible can be very fun, but you’ll have to be overly precise.
Where to Start Learning Pixel Art?
For creating a professional pixel art piece, you’ll have to be familiar with the basic art concepts, including color theory, anatomy, perspective, working with light and shapes.
You have to practice and create as many pieces of work as you can to get better.
Watching pixel art tutorials can help speed up the process. SkillShare and Udemy have some great courses, and you can find free tutorials on YouTube.
Search for an artist whom you find their pixel art appealing, and import their drawings into your chosen platform.
Study their work and try to figure out why they put color where they did. Try to copy their work in your style. This method can also help you succeed faster.
Best Pixel Art Software for iPad
Pixaki
Pixaki is a powerful equivalent to pixel art desktop apps, explicitly made for iPad with Apple Pencil support.
It offers customizable pallets and a multi-touch interface. Other features include onion layers, image import, resizing, and transformation. You can import layered PNG and Zip files, PSDs, Gifs, and Sprite sheets.
More importantly, Pixaki allows you to create pixel art animation with a high-frame density. This app goes for $24.99 on App Store.
Pixelmator
Pixelmator is a very powerful photo editing tool for iOS and iPad. You can adjust colors, repair, clone, distort, add effects and frames. Painting with their collection of 100 brushes, plus watercolor ones, is very realistic.
Moreover, Pixelmator has a custom-designed pixel brush with an accurate and unique brushstroke snapping technology. Create pixel art at ease with your iPad and Apple pencil in Pixelmator.
You can even add layers to your work and use many more pixel-precise tools for editing your drawings. With only $4.99, you can have all these features on your device.
iDraw
iDraw is a simple app with basic tools such as drawing tools, selection tools, and a customizable palette. However, it lacks the modern features of the other platforms, including the ability to create animations.
Yet iDraw is a very popular pixel art app, mainly because it allows you to create pixel art in the JRPG style known as the 90s style.
It can be a good platform for those starting with pixel art and trying to learn its basic concepts.
Final Words
Procreate is a powerhouse that can satisfy almost every need of a professional digital artist.
If you’re up for the necessary changes, it can become one of the best pixel art apps for iPad, mainly because there aren’t many well-functioning pixel art platforms in the App Store.
The Photoshop version of the iPad doesn’t have pixel art brushes, and other famous apps like Aseprite aren’t made for iPads.
However, if you want a separate application for creating pixel art only, download Pixelmator, Pixaki, or iDraw.
This post is part of our hero content series on “The Ultimate Procreate Guide: The Number 1 Creativity Tool“.


