Ever tried capturing a moment on your webcam, only to be greeted with grainy images and off colors? Welcome to the world of subpar video quality. Many others share this experience.
But what if I told you there’s a way out? A well-optimized webcam that can bring us closer than ever before – even when we are miles apart.
To help you with this, let’s discover the best webcam settings guide. Here, you’ll learn how adjusting just a few settings like white balance or exposure time can significantly improve webcam quality. Dive into professional tips on how to adjust webcam quality and discover software solutions that will turn pixelated footage into high-definition clarity.
With this guide, you can proceed on adding light, applying higher gain, and most importantly, set white balance professionally
Understanding Webcam Settings
Your webcam is more than just a tool for video calls. It’s your connection to the world, but getting it to work perfectly can feel like solving a puzzle, especially with numerous monitors available in the market today.

To get high-quality video output, you need to understand and adjust various settings. These adjustments are key factors that influence your camera’s performance.
The Importance of Correct Webcam Settings
You may have heard about terms such as white balance or frame rate while trying to improve your webcam’s quality. Well, these aren’t tech jargon; they’re important aspects of any good webcam set up.
Just imagine watching an action movie with low frame rates—it would be akin to seeing images in slow motion. Similarly, if the white balance isn’t correct on your webcam feed during a critical business meeting, you might appear unnaturally blue or yellow.
This comprehensive guide will help you explore how tweaking these features can result in improved visuals on both ends—making sure that people feel and see what you want them too—and not some distorted version of reality due to incorrect settings
Camera Settings for Improved Quality
Your webcam has a hidden superpower – it can deliver top-notch video quality. Tweak the settings on your webcam, like frame rate and exposure time, to get a higher quality video.
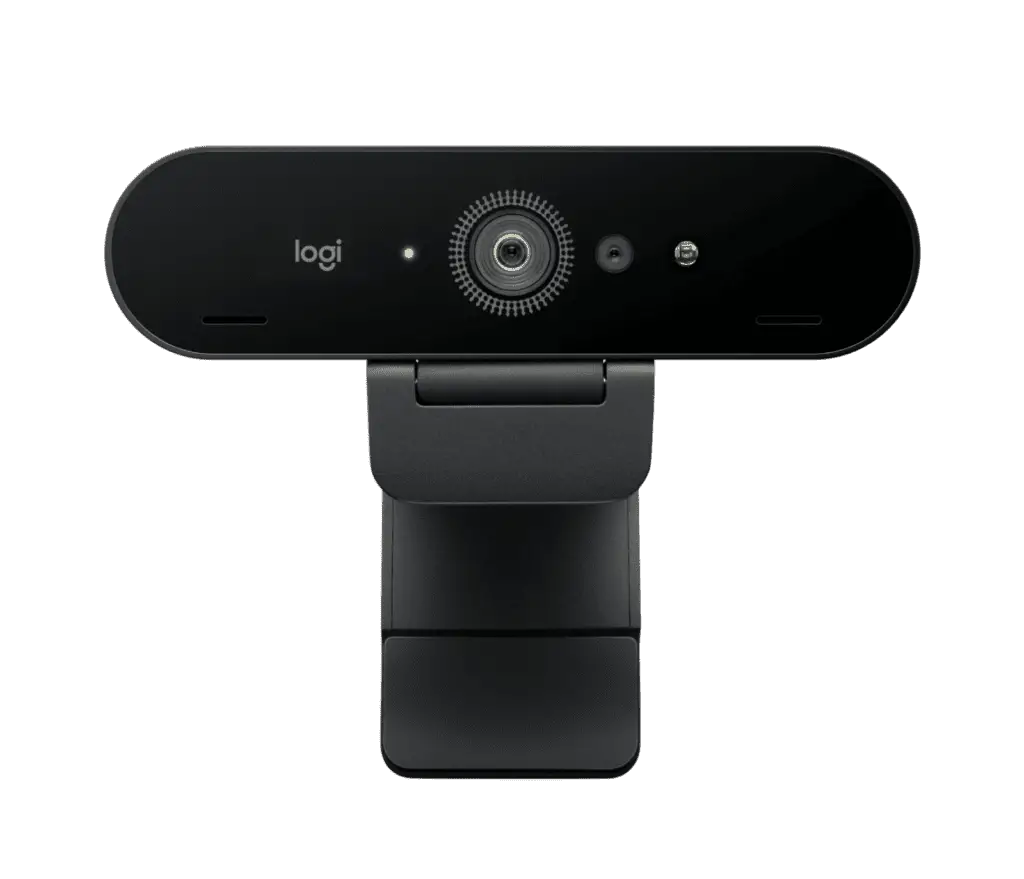
Let’s take resolution options first. A higher number equals better image quality. For instance, I use a Logitech Brio at 3840×2160 (4K) resolution and 30 FPS that provides crisp visuals.
Moving on to shutter speed and high exposure settings. These influence how much light enters your lens while filming. Slower shutter speeds result in more light capture but may cause motion blur; faster ones provide sharp images but might darken your footage.
The length of exposure works hand-in-hand with these factors: longer exposure allow more light in, improving low-light performance but risking overexposed bright scenes.
Achieving Balance between Video Resolution and Frame Rate
The key lies in finding the sweet spot where both work harmoniously together without overpowering each other – like Simon & Garfunkel’s melodious harmony.
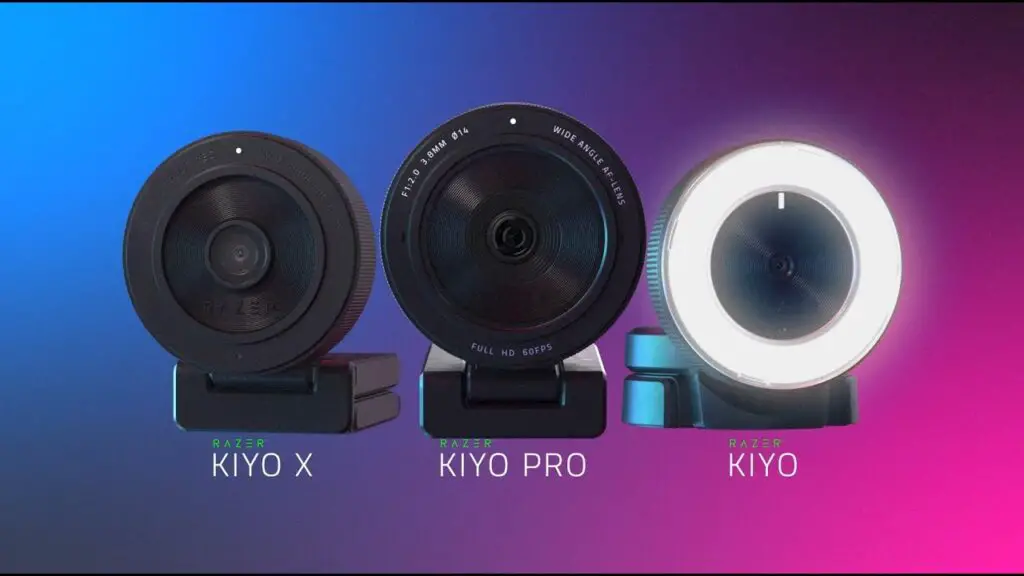
I’ve had great success using a Razer Kiyo Pro set at 1080P resolution coupled with an impressive 60 FPS frame rate – delivering buttery-smooth movements without compromising detail.
Color Correction and White Balance
You’ve got your webcam, but the colors look a bit off? The thing is, using a color filter is not always the best solution. Instead, you need to dive into color correction and white balance settings. They’re like superheroes for your video output.
Achieving Perfect White Balance
Firstly, let’s chat about white balance setting. It’s all about tweaking that ‘temperature’ of your image. So how do we set it? It’s time to open broadcaster software studio.
To start with manual adjustments on white balance settings in most webcams or software applications such as OBS Webcam Studio, look for the “settings menu”. Once there, find something named similar to “color temperature”, usually measured in Kelvin (K).
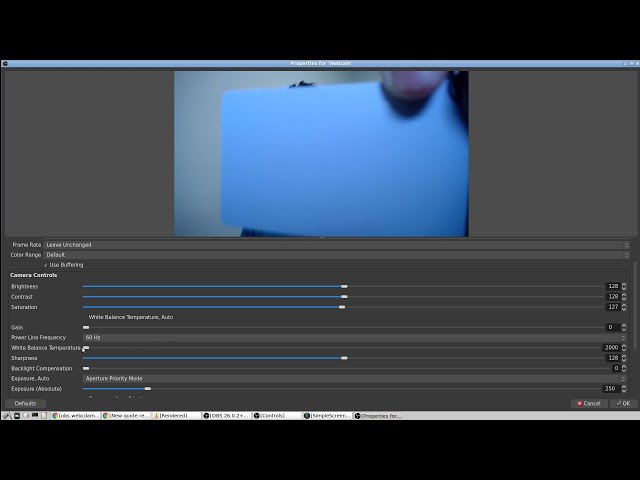
Your goal is to make whites appear as true white – not too cool (blue) or warm (yellow). The average daylight color temperature is around 5500K. But remember every room has different lighting conditions; play around until you get those vibrant yet balanced images.
In this process of adjusting webcam settings on your OBS webcam settings for optimal results – be patient. And if patience isn’t your strong suit…then this best webcam settings guide might not be for you.
Lighting Conditions and Webcam Performance
Your webcam’s performance hinges heavily on lighting conditions. A room that’s too dark or overly bright can lead to grainy, washed-out footage. But don’t fret. You have the capability to address this.
Improving Image Brightness with Proper Lighting
The secret sauce for better image brightness? It’s all about your light sources. Try adding a desk lamp near your workstation, or adjusting the blinds to let in more natural light.
This not only enhances your webcam footage, but also makes you look like you’re broadcasting from a professional studio.
Ensuring Your Webcam is Working Properly
If your video still looks off despite perfect lighting, it might be time for some troubleshooting. Start by checking if there are any physical obstructions blocking your camera lens – even a speck of dust could throw things off.
If everything seems fine physically but the problem persists, delve into the settings of whatever software you’re using (like OBS Studio) and adjust as needed until you get the desired results.
Software and Tools for Webcam Optimization
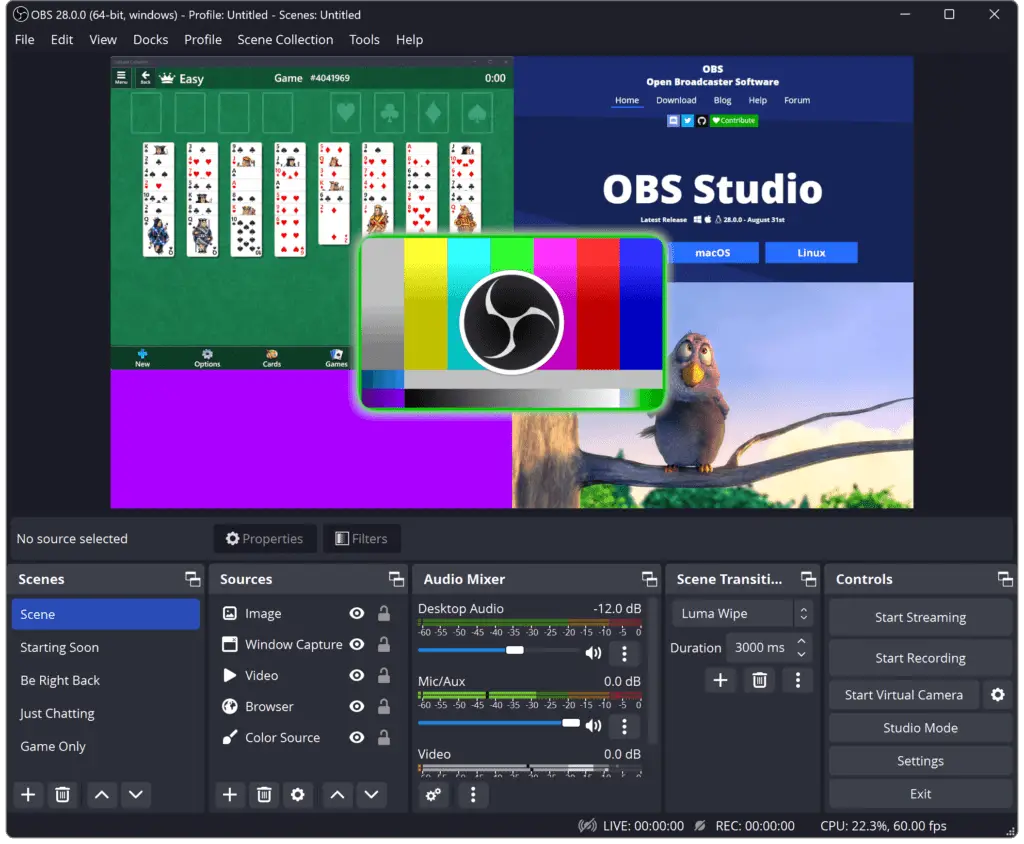
You may have heard about OBS Studio, a popular software tool that can take your webcam settings from “meh” to “marvelous”. But how does it do the magic?
The secret sauce lies in its ability to adjust three main areas: exposure, balance, and gain. Just like a seasoned chef knows his salt from sugar, OBS helps you fine-tune these settings for an improved webcam experience.
OBS – The Swiss Army Knife of Webcam Software
Absolutely. With OBS Studio’s nifty features at your disposal, adjusting the exposure is as easy as flipping pancakes on Sunday mornings. White balance is here to save the day.
Last but not least comes gain adjustment. Imagine it being like tuning a guitar – hit just the right notes (or levels) and voila – perfect harmony.
Make Your Webcams Work Wonders with OBS Studio
If only webcams came optimized straight out of the box…but until then let’s make sure we use tools such as OBS studio effectively.
Your next video call might just get someone asking if you’ve suddenly moved into a professional TV studio. And why wouldn’t they? After all, isn’t that what perfectly tuned webcam settings should look like?
Professional Tips for Webcam Setup
If you’re looking to replicate the quality of a DSLR video with your webcam, this guide is for you. Configuring a webcam to look like an expert isn’t necessarily difficult.
Choosing Between DSLR and Mirrorless Cameras
The first step is choosing between DSLR and mirrorless cameras. Both can deliver professional image quality, but each has its unique features that might make one more suited for your needs than the other.
DSLRs are great because they offer an extensive range of interchangeable lenses, which gives you flexibility in controlling depth of field, focal length, and overall composition. But if size matters to you – consider going mirrorless. They’re lighter due to their design without the prism or reflex mirror found in DSLRs.
In reality though? Your built-in webcam can still do wonders when set correctly. Yes. With some tweaking on settings menu such as exposure level or white balance configuration – You could get improved webcam output even from basic equipment.
This guide, provides helpful information about these camera types if you need more insights into making this decision.
Case Study: Razer Kiyo Pro
If you’re seeking a webcam that delivers high-quality images and bright colors, look no further than the Razer Kiyo Pro. This powerful device brings professional-level quality to your desk.
Its adaptive light sensor ensures superior performance even in dimly lit rooms. With its adaptive light sensor, the product ensures that your video calls and streams look sharp and vibrant – giving viewers a sense of being right there with you.
Features and Settings
The said webcam offers settings that let users adjust for different lighting conditions, making sure every video call or stream looks its best. The built-in adjustable ring light eliminates harsh shadows and keeps you evenly lit at all times.
This webcam is designed to replicate reality by accurately capturing white balance configuration for any environment. From low-light environments to brightly-lit rooms, the color temperature adjusts automatically so your skin tones always appear natural.
Quality You Can Trust
You can trust this product as it has been tested by longtime tournament competitors who have won multiple regional championships using this very model. Its capabilities will definitely enhance your online presence whether it be competitive gaming or virtual meetings.
Optimizing Webcam Settings for Competitive Gaming
Gaming isn’t just about your controller skills anymore. Your on-screen presence matters, and a lot of it comes down to webcam settings. Here’s how you can level up.
Leveraging Brand Deals as a Gamer
Razer Kiyo Pro, anyone? Winning regional championships is not the only way gamers get noticed these days (especially for games like Samurai Shodown). Brand deals can give that extra boost in visibility and success, helping gamers shine brighter than their webcam light.
Brands love when players use their products during matches. Being part of something bigger is an incredible feeling, and with x-deals it’s a reality. Plus, having top-tier equipment such as the Razer Kiyo or mirorrless cams helps improve video quality immensely.
To really take advantage of these perks though, make sure your webcam’s quality is on point first.
Product currently unavailable.
The Importance of Correct Webcam Settings
If you’ve won multiple championships already but still struggle with dark or blurry footage – it’s time to dive into those camera settings. White balance adjustments alone can dramatically enhance the temperature of your video leading to vibrant visuals that truly reflect real life gameplay.
Tweaking exposure and gain within software studio tools like OBS Studio will further optimize brightness too – even if your room has poor lighting conditions.
Beyond physical settings, ensure you enable JavaScript in browser-based games so all elements function properly during live streams. This stuff may seem trivial in this best webcam settings guide, but remember: great streamers don’t cut corners when setting up for competitive gaming sessions.
Post-Processing and Video Editing
After capturing your webcam footage, the real magic begins. Post-processing and video editing are like salt to a gourmet dish—they bring out the flavor of your content.
But how can you make sure that your videos have that professional touch? Drawing on our experience, here are some tips for achieving a professional touch in your videos. You’ll need software with robust capabilities—Adobe Premiere Pro, for instance, is an industry favorite.
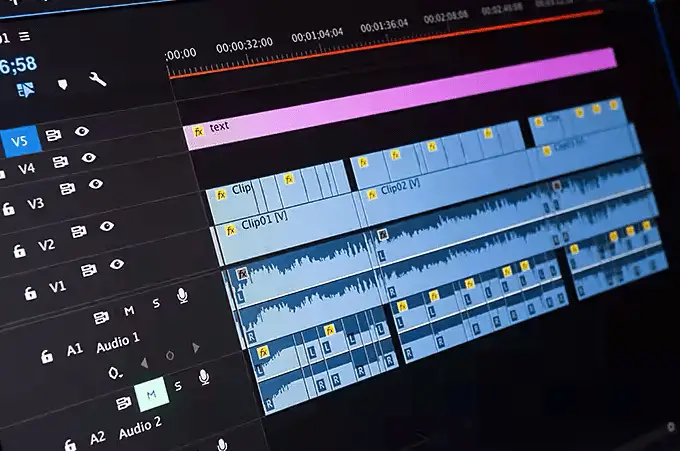
The first thing we do is color correction; adjusting colors so they match what we see in real life. Next comes white balance adjustment—it ensures consistent colors throughout different shots. After this, there’s audio leveling because nobody likes erratic sound levels.
We’ve found that enhancing brightness helps viewers focus more on us than on any distracting background elements. Plus, if you’re working under sub-optimal lighting conditions (like most of us), brightening up shadows can work wonders.
A Little Something About Exporting…
If you’re wondering about exporting settings—we prefer H264 codec at 1080P resolution to keep file sizes manageable while maintaining good quality for YouTube or Twitch streaming.
In conclusion: post-production isn’t just important—it’s crucial. Remember folks—the devil lies in details when it comes to making engaging content stand out from the crowd.
FAQs in Relation to Best Webcam Settings Guide
What are the best camera settings for webcam?
Aiming for a 1080p resolution and maintaining 30 FPS is key. Adjust exposure, gain, and white balance to fit your lighting.
How do I maximize my webcam quality?
Tweak frame rate, resolution, exposure while managing lighting conditions. Use software like OBS Studio for further refinement.
How do I get the best out of my webcam?
Besides technical adjustments, position your cam at eye level and ensure proper room lighting. Also consider post-processing editing.
What is a good ISO for a webcam?
A lower ISO around 100-200 works well in brightly lit environments; higher (800+) may be needed under dimmer conditions.
Conclusion
Mastering your webcam settings is a game-changer. From understanding the basics to tweaking for optimal performance, you’re now equipped with insights from our best webcam settings guide.
Nailing camera settings? You’ve got that down. Taking lighting conditions into account while setting up your webcam – all in a day’s work. Utilizing software tools like OBS Studio for further enhancement? Check!
You even dove deep into professional setup tips and explored how top-notch webcams like Razer deliver high-quality images.
In short, whether you’re gaming or conferencing, this guide has set you on the path towards improved video clarity and brightness – making every interaction more real than ever before. Now, it’s time to choose the best webcam on the products displayed on your favorite online store! based on this best webcam settings guide.